There is a reason I don't sell everything I make.
Quite simply it is because there are things that others make MUCH better than me.
You might even be one of those someone's.
We could all try the same project and get all different results.
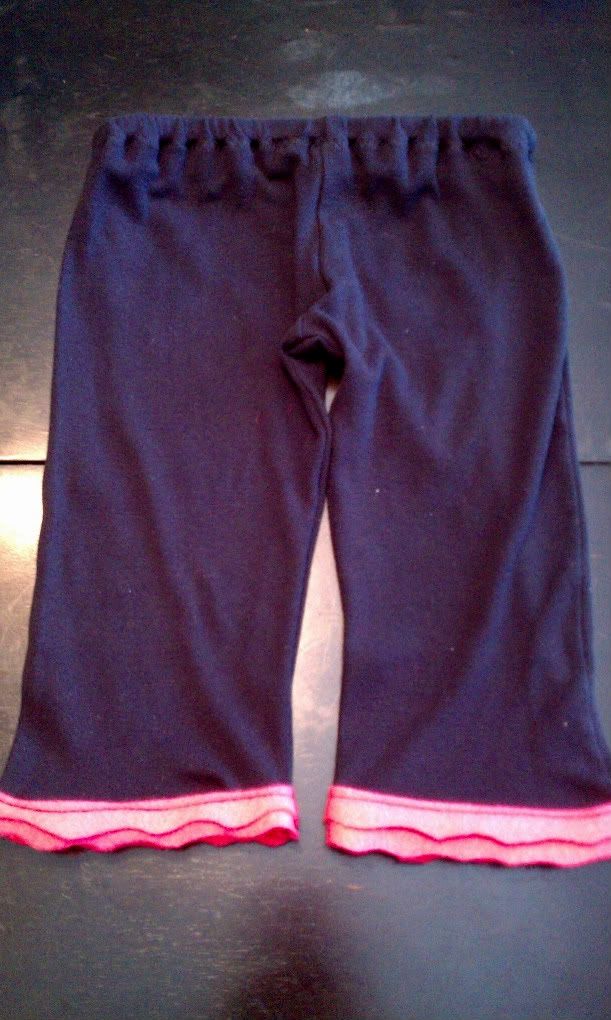
That being said.. I've made some super cute sweat pants before.
Like these:

So naturally when I realized that all of little sister's PJs
were hot winter jams I decided to make her some for summer.
I got the brilliant idea to use some old jersey sweats
That I don't wear anymore.
And so begins Tutorial Thursday...
pjs from pjs:
Here is what you'll need:


-Scissors
-old adult or bigger kid pants
(or adult t-shirt. will explain)
-matching thread
-fabric for embellishing bottom
(i used felt)
-sewing machine
-pins
-elastic band.
-spare pair of fitting pj pants to measure by.
Begin by laying out one leg of the pants on a flat surface
lay the existing pants out flat on the fold like this:

Cut out around the pants. I lined up the bottoms of both pair of pants to eliminate some cutting.
Remember to give yourself seam room. I didn't leave enough at the top to really please my eye, so leave more than I did:

Repeat this step with the other pant leg.
Then you are left with two identical pieces.

lay them on top of one another right sides facing in.
Pin and stitch the curves.

guess what else I did wrong?
I stitched the WRONG curves.
When using a material like jersey it is easy to stretch it out a bit.
That left me with 4 curves. My bad. Even if you do the same mistake though it will all work out.
Don't panic. keep sewing.
Stitch the TOP.
Once you reorient the project you will see pants!

All that happened was that I made the legs the waist and the waist the legs. lol.
Luckily I allowed enough extra that the pants still cover her rump, but are now full length pants instead of cute summer capris.
Next I added embellishments to the bottom to make them look more "finished" and girly.
I laid them back out wide again but with the right sides facing out.

Then across the bottom of one leg I added a 2 strips of felt.
I had cut them both straight across the top and wavy on the bottom.

Stitch the bottom one on first and the top over it.

Once you are done flip the pants back inside out and reorient them into pants again.
Pin and stitch the crotch. Again with a zig zag stitch and then another straight over top, or a triple stitch. I find zig zag is easier with jersey.

Flip down the waist and pin for the waistband.

See those two pins facing the wrong way?
They remind me NOT to sew there so I can get my elastic in.
Once it is time for elastic I just measured around E's little tummy..ha. little tumy.
and cut accordingly.
I always run elastic through with a hard plastic straw and a straight pin like this:

and once both sides are through I pin them together for a minute to be sure all of my insides are straight and not twisted.
Then I pull out some excess and stitch them together with a triple stitch.


Finish stitching the open part of the waist and turn inside out.
PANTS!!!
They are cute and they will work, but I need some practice.
If you try them LET ME SEE THEM!
If you want to try making them from a t-shirt just follow the same instructions. Place the pants on the fold of the t-shirt under the sleeve and then repeat on the other side of the shirt.
If you want to try making them from a t-shirt just follow the same instructions. Place the pants on the fold of the t-shirt under the sleeve and then repeat on the other side of the shirt.
I love to know when something I've posted has been of use!
xoxo
Courtney
No comments:
Post a Comment