
I love a cute dress, and now that I am a mother of a spunky little girl, I LOVE for her to have cute every day dresses that are multi-functional. This adorable dress is great for everyday wear, as well as cute photos or special occasions. You can dress it up or down (pun intended) any way you like. The best part is that the fabric you'll use for this dress does all of the work for you. I made my dress in a 3T - 4T
Here is what you'll need:

- smocked fabric of your choice. I used 22 inches of black with white polka dots from Hobby Lobby. It was around $13 a yard, but with their regular 40% off any single item I saved over five dollars.
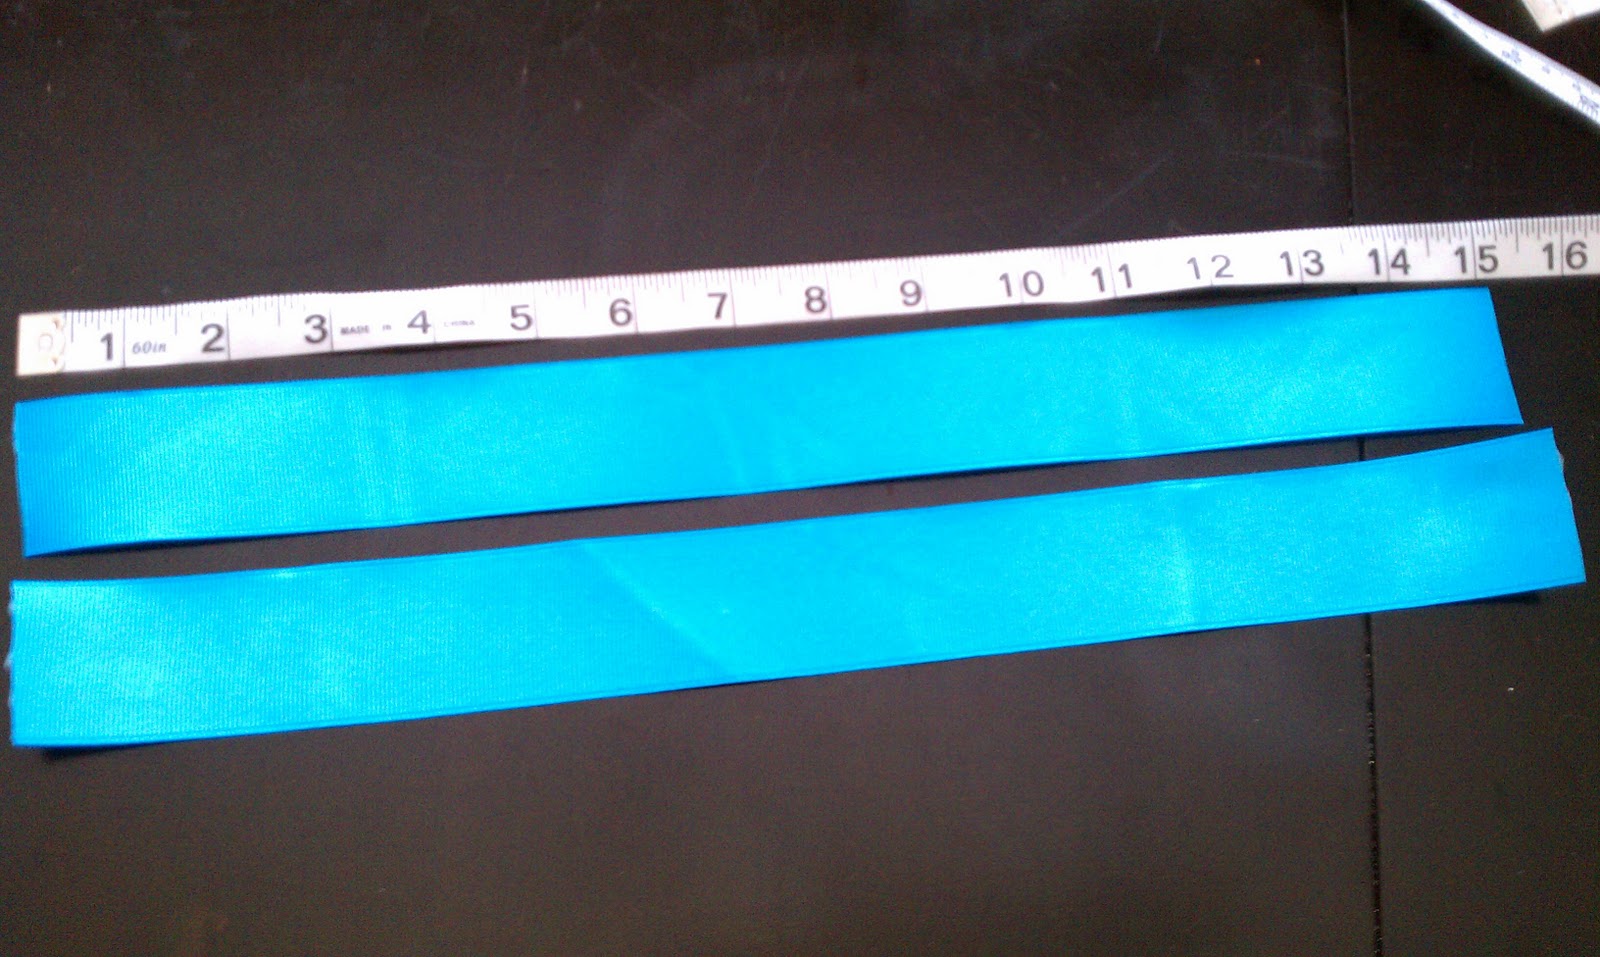
- 1.5 inch ribbon. I used 65 inches of bright blue that I also bought on sale at Hobby Lobby for less than a dollar.
- Sewing machine with matching thread and bobbin thread. (Thread should match the dress for the straps and either the ribbon or the dress for the bottom, but I did black on the bottom ribbon to add a little flare and to save $ on not needing 2 spools of thread.
- Scissors
- Pins
- Sewing Machine I use a Janome DC2010. It is a relatively inexpensive machine and very user friendly.
First if you bought more than the desired amount of fabric cut it to the size you need. I made a 3T-4T and needed 22 inches, but I also measured for a 2T and also needed 22 inches. The only difference is that when I made the smaller one I cut the length off to be appropriate. Remember to compensate for the extra inch and a half you will add with the ribbon.
Pin the ribbon onto the outside of the bottom of the fabric. Remember to point the pins in the proper direction so that you can remove them as you sew.
 | |
| Please note that my pins are not in fact facing the correct direction. I had to move them. ha! |
Make sure you have your ribbon straight across the bottom and place under your machine. I recommend moving slow since this is a visible stitch and you will want it to be very straight.

 | |
| pins now facing proper direction. :) |
I did a single straight stitch across the bottom watching carefully to keep the dress lined up so that the stitch stays the same distance from the top of the ribbon all the way across.

Next step is to sew up the dress in the back. Join the two ends of the fabric and line them up making the dress inside out. Note: It is important to be certain that the machine doesn't move the dress out of line because you want the ribbon to meet up at the bottom. If you sew too fast and don't pin then you may end up with one side of the ribbon sitting higher than the other.
 |
| I did burn the edges of all of my ribbons, but you can also buy Sprayaway 821 No Fray Spray on Amazon |

 |
| When preparing for straps be sure the seam is up the back middle of the dress. |
Next is the straps. For mine I needed 2 - 15 inch strips of ribbon. I got that length by measuring from where I wanted the strap to be on the front of her chest and then over the shoulder and across her back to where I wanted it to stop. Pin the ribbon onto the inside of the front of the dress and stitch into place. I use a ziz zag stitch for strength and then go over it with a straight stitch. (note that if your bobbin thread does not match it will show) Do the same for the other strap and remember when stitching to the INSIDE of the back to cross over to the opposite side with each strap.

All said and done you have an adorable so easy its shocking dress for no more than $10 and no more than 10 minutes!

Who is ready for Spring? This girl!
happy thrifty crafting,
Courtney
No comments:
Post a Comment